 Save to Pinterest
 My neighbor Pani Maria taught me to make pierogi on a freezing January afternoon when her kitchen smelled like melting butter and possibility. She pulled out a worn wooden board and showed me how the dough should feel—soft but not sticky, like a baby's skin—and I realized this wasn't just cooking; it was her way of saying welcome to the neighborhood. The first batch I made, I burned the onions black, but she laughed and said that's how you learn what golden actually means. Now whenever I make these tender potato and cheese dumplings, I hear her voice telling me to be patient with the caramelizing, to let time do the real work.
I made a huge batch of these for my daughter's college friends during winter break, and they devoured them so quickly I barely got to sit down. Someone asked if I was Polish, and when I explained my teacher was, they nodded like that explained everything—like good food always has a story attached to it. Watching them fight over the last pierogi with sour cream dripping everywhere made me understand why Maria insisted these were worth the effort.
Ingredients
- All-purpose flour: Three cups gives you enough dough to work with without feeling stiff; sour cream in the dough keeps everything tender and forgiving.
- Egg and butter: These create a silky dough that's easy to handle, and the melted butter prevents sticking better than oil ever could.
- Russet potatoes: Their starchy texture mashes into clouds; don't use waxy potatoes or you'll end up with gluey filling.
- Farmer's cheese or ricotta: The cheese needs to be well-drained or the filling leaks; I learned this the hard way with weeping pierogi.
- Sharp cheddar: It adds bite to the mild potato, but grate it fine so every bite tastes balanced, not one cheesy pocket followed by bland ones.
- Onions for caramelizing: Low heat and patience turn them into liquid gold; rushing them means you get soft brown onions, not the deep sweet thing that makes people close their eyes when they eat.
Tired of Takeout? 🥡
Get 10 meals you can make faster than delivery arrives. Seriously.
One email. No spam. Unsubscribe anytime.
Instructions
- Mix and knead the dough:
- Make a well in your flour like you're building a tiny fortress, then pour in egg, water, sour cream, and melted butter. The dough will look shaggy at first, but once you knead it for 5-7 minutes, it transforms into something smooth and cooperative. Let it rest under a damp towel for 30 minutes—this is non-negotiable; it makes rolling easier and the dumplings tender.
- Build the filling:
- Boil your potatoes until they're so soft a fork slides through without resistance, then drain them thoroughly and mash until creamy. While they cool slightly, melt butter in a skillet and cook onion until it's golden and sweet, about 5 minutes—this step wakes up the whole filling with savory depth.
- Combine and season:
- Mix the mashed potatoes with sautéed onion, both cheeses, salt, and pepper; taste it and adjust because the filling should be rich and flavorful enough to stand alone. Let it cool completely before filling, or the dough will get soft and tear.
- Roll and cut the dough:
- On a floured surface, roll your rested dough to about 1/8-inch thickness—this is thinner than you might think, but it prevents doughy pierogi. A 3-inch round cutter works perfectly, or use a glass if that's what you have.
- Fill and seal each pierogi:
- Place a heaping teaspoon of filling slightly off-center, fold the circle in half, and pinch the curved edge closed with your fingers or a fork. The seal matters because that's what keeps the filling from escaping into the boiling water.
- Boil until they float and beyond:
- Work in batches so they have room to move; when they float to the surface, give them 1-2 more minutes, then fish them out with a slotted spoon onto a clean towel. This is where the pierogi transforms from dough with filling to something with personality.
- Caramelize the onions low and slow:
- In a large skillet, melt butter over medium-low heat and add sliced onions with a pinch of salt. Let them sit for 20-25 minutes, stirring often, until they're deep golden and so soft they almost dissolve into the butter. This is the secret that turns good pierogi into the kind people remember.
- Pan-fry until crispy:
- In the same skillet with the caramelized onions, add boiled pierogi in batches and fry on both sides until the outside is golden and slightly crispy, about 2-3 minutes per side. Don't crowd the pan or they steam instead of frying.
 Save to Pinterest
 My daughter came home from college one weekend and found frozen pierogi in the freezer, and she boiled a batch while I wasn't looking just to taste them again. She ate them standing at the counter with her eyes closed, and I realized some foods carry memory in them—not just the taste, but the whole feeling of being cared for. That's what pierogi do.
Why These Work for Company
You can make the entire filling and dough the day before, which means when guests arrive, you're just rolling, filling, and boiling—the parts that feel like you're performing a little magic trick. People are always impressed by homemade dumplings, but the truth is the hardest part is patience, not skill. Plus, if you make extra, you can freeze them uncooked and have dinner ready whenever you need it.
Variations That Work
Once you understand the basic formula, pierogi become a canvas for whatever you have on hand. Caramelized mushrooms are beautiful swapped for some of the potato, or sauerkraut mixed into the filling if you want something tangier. My friend uses cottage cheese instead of farmer's cheese and says it makes them airier, which I can believe even though I'm loyal to Maria's way.
Serving and Storing
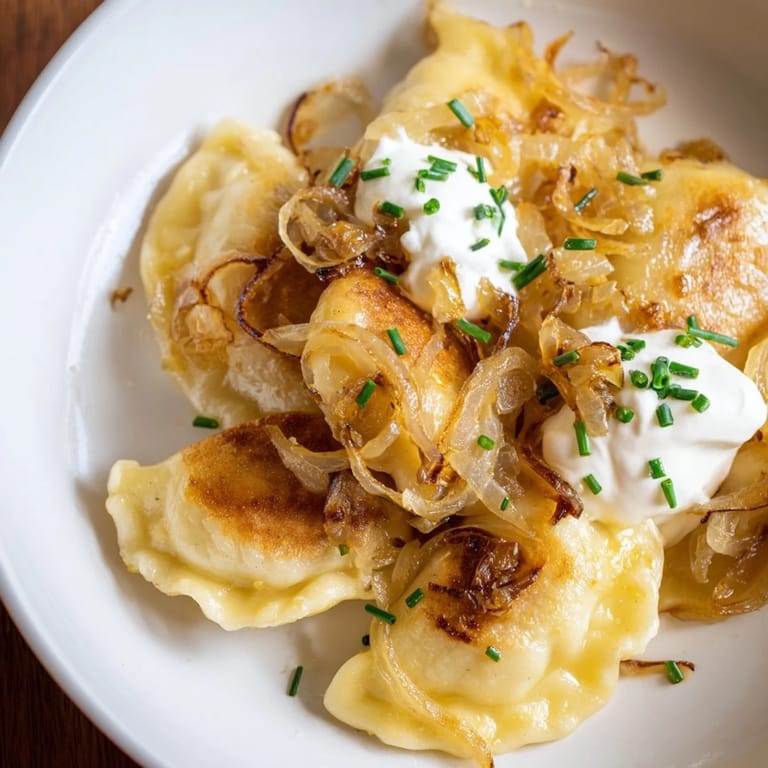
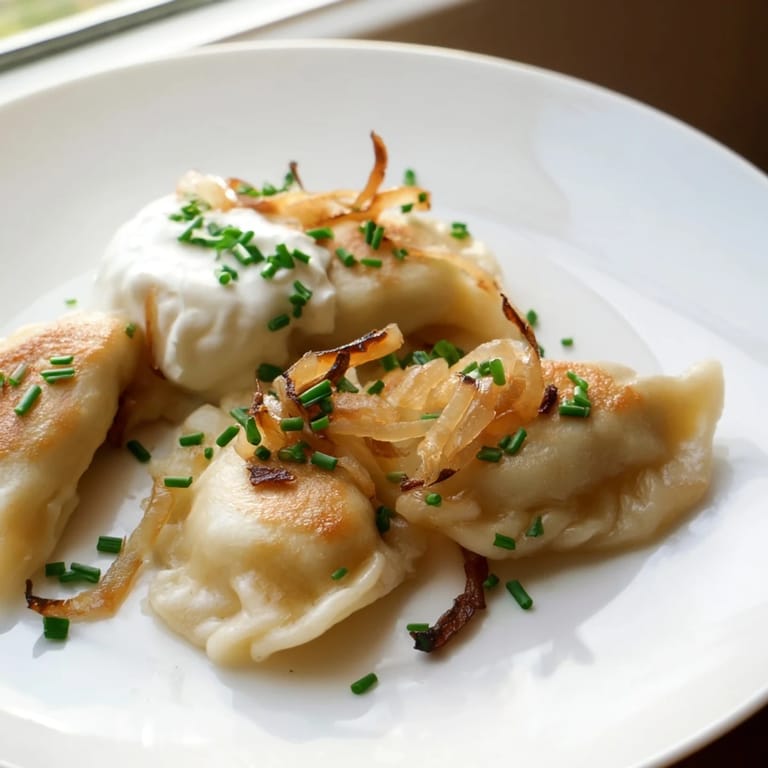
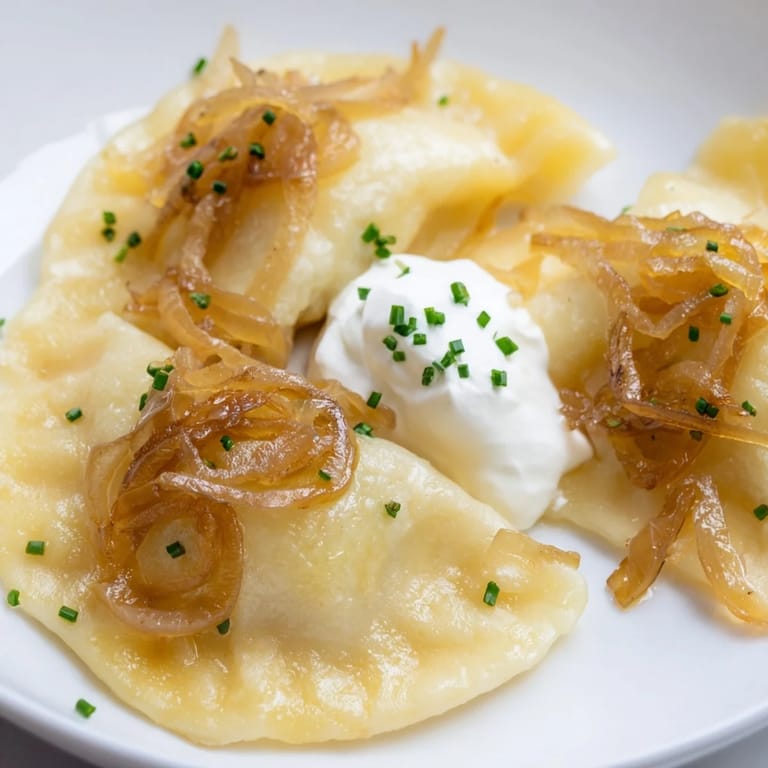
Serve them hot topped with caramelized onions, a generous dollop of sour cream, and fresh chives if you have them. Leftover boiled pierogi can live in the fridge for three days and pan-fry beautifully straight from cold, making them perfect for a quick lunch. Uncooked pierogi freeze for up to two months if you freeze them on a tray first, then transfer them to a bag once solid—this prevents them from sticking into one frozen brick.
- Pair them with a crisp Polish lager or dry white wine to balance the richness.
- Sour cream and fresh dill are traditional, but crispy bacon bits work beautifully too if you're feeding non-vegetarians.
- Make these when you have time to enjoy the process; they're meant to be eaten slowly, with people you like.
 Save to Pinterest
 These pierogi are the kind of food that builds community, whether you're making them to freeze for later or serving them hot to people you love. They taste like patience, butter, and someone saying your food matters to them.
Recipe FAQs
- → What type of flour is best for the dough?
All-purpose flour works well, providing the right texture for tender yet sturdy dough ideal for folding and boiling.
- → How do I achieve perfectly creamy potato filling?
Boil peeled potatoes until soft, then mash thoroughly before blending with farmers cheese and cheddar for a smooth, rich filling.
- → What is the purpose of caramelizing the onions?
Slowly cooking onions in butter brings out natural sweetness and deep color, enhancing flavor when served atop the dumplings.
- → Can pierogi be frozen before cooking?
Yes, freezing uncooked pierogi on a tray before bagging helps maintain shape and freshness for up to two months.
- → How long should pierogi be boiled?
Cook in gently boiling salted water until they float plus an additional 1–2 minutes to ensure the dough is cooked through.
- → What sides pair well with these dumplings?
They go well with sour cream and fresh herbs, and complement crisp Polish lagers or dry white wines.