 Save to Pinterest
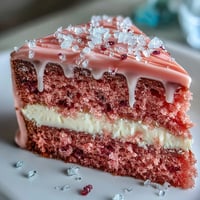
 My sister showed up one afternoon with a bag of freeze-dried strawberries she'd impulse-bought at the farmers market, no idea what to do with them. We stood in my kitchen crushing them into powder, and the scent that rose up was so intense, so purely strawberry, it felt like summer trapped in a jar. That's when I thought of fudge, something creamy and sweet that could hold all that brightness without cooking it away. We made the first batch that evening, and by the time it set, we'd already planned three more occasions to bring it to.
I brought a pan of these to a potluck once, and they vanished before the main course even hit the table. People kept asking if I'd ordered them from a bakery, which made me laugh because I'd made them in pajamas the night before. One friend called them "strawberry clouds," and the name stuck. Now every time I make them, I think of her reaching for a third square and pretending she wasn't.
Ingredients
- Digestive biscuits or graham crackers: The base needs to be sturdy enough to support the fudge, and these biscuits have just enough sweetness without competing with the topping.
- Unsalted butter: Melted butter binds the crumbs into a crust that holds its shape when you slice, and unsalted lets you control the sweetness.
- White chocolate chips: Choose good quality chips or a chopped bar, the smoother the melt, the silkier your fudge layer will be.
- Sweetened condensed milk: This is what makes the fudge set firm without any complicated candy thermometer steps, just stir and chill.
- Freeze-dried strawberries: Grind them fine and they dissolve into the fudge, giving you pure strawberry flavor without adding moisture that would make it runny.
- Pure vanilla extract: A teaspoon rounds out the sweetness and makes the strawberry taste even more like itself.
- Pinch of salt: It balances the sugar and brings all the flavors into focus, don't skip it.
- Pink or red gel food coloring: Totally optional, but a drop or two makes the squares look as vibrant as they taste.
Tired of Takeout? 🥡
Get 10 meals you can make faster than delivery arrives. Seriously.
One email. No spam. Unsubscribe anytime.
Instructions
- Prepare the pan:
- Line your square pan with parchment paper, letting it hang over two sides like little handles. This trick means you'll lift the whole slab out later without wrestling it, and your squares will slice clean and pretty.
- Make the crust:
- Mix your crushed biscuits with melted butter until every crumb is coated and the mixture clumps when you squeeze it. Press it firmly into the pan, using the back of a spoon or a flat glass to get it even and compact.
- Chill the base:
- Pop the pan in the fridge for 10 minutes so the crust sets up and won't shift when you pour the fudge on top. It's a small step that makes a big difference in clean layers.
- Melt the fudge base:
- Set a heatproof bowl over a pot of barely simmering water, add your white chocolate and condensed milk, and stir gently. The chocolate will soften first, then blend into a glossy, pourable cream that smells like a candy shop.
- Flavor the fudge:
- Take the bowl off the heat and stir in your strawberry powder, vanilla, salt, and food coloring if you're using it. The color will shift from ivory to pale pink, and the kitchen will smell like strawberry shortcake.
- Assemble:
- Pour the fudge over your chilled crust and spread it gently to the edges with a spatula. It should settle into a smooth, even layer that covers every corner.
- Set in the fridge:
- Cover the pan loosely with plastic wrap and let it chill for at least 2 to 3 hours. The fudge needs time to firm up, and patience here means perfect slices later.
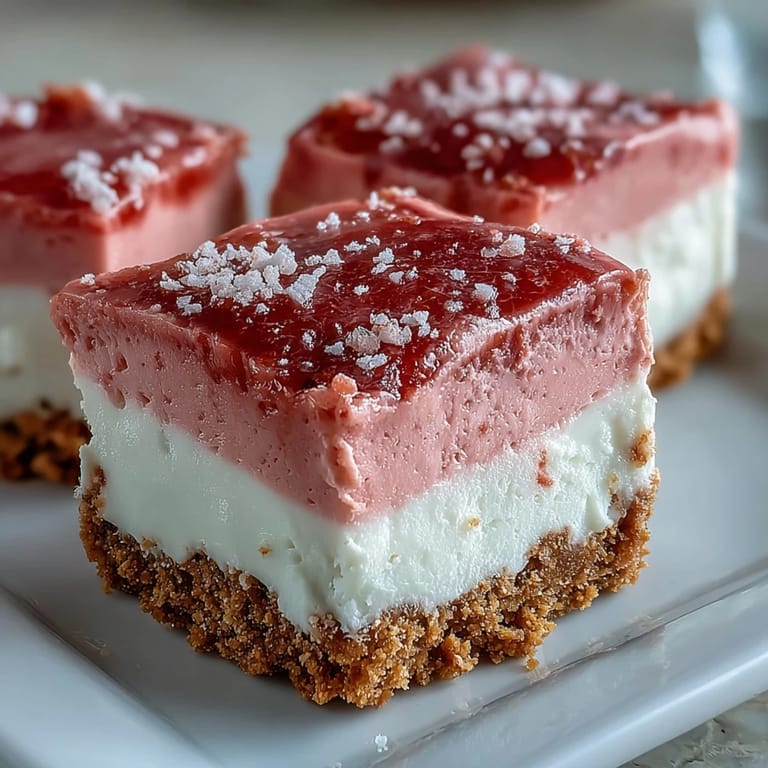
- Slice:
- Lift the whole thing out using the parchment overhang, set it on a cutting board, and slice with a sharp knife. Wipe the blade between cuts for clean edges that show off the pretty pink and golden layers.
- Garnish and serve:
- Top each square with a thin slice of fresh strawberry or a sprinkle of freeze-dried pieces. Serve them cold from the fridge or let them soften just a bit at room temperature for a creamier bite.
 Save to Pinterest
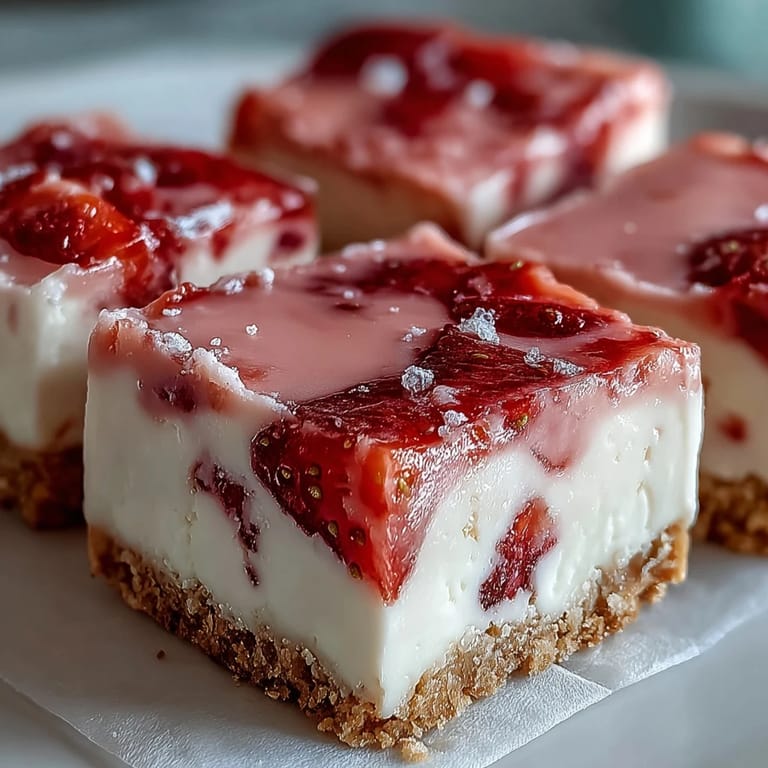
 One summer evening, I made a double batch and cut them into tiny squares for a garden party. As the sun set, people stood around with these little pink bites on napkins, and someone said they tasted like childhood and strawberry fields all at once. I tucked that compliment away, and now every time I pull a pan from the fridge, I remember how something so simple can feel like a small celebration.
Choosing Your Strawberries
Freeze-dried strawberries are my first choice because they grind into a fine, concentrated powder that dissolves completely into the fudge without adding any liquid. Fresh strawberries are beautiful, but they need to be pureed, strained, and reduced, or they'll make the fudge too soft to slice cleanly. If you do use fresh, cook them down to a thick paste first, and expect a slightly softer texture. I've also tried strawberry jam in a pinch, and while it works, the sweetness can be overwhelming, so cut back on the condensed milk a bit.
Storage and Make-Ahead Tips
These squares keep beautifully in an airtight container in the fridge for up to five days, though they rarely last that long in my house. I've also frozen them, layered between parchment, and pulled them out one at a time for a quick treat. They thaw in about 20 minutes on the counter and taste just as creamy as the day they were made. If you're making them ahead for a party, cut them the morning of and store them in a single layer so they don't stick together.
Customizing Your Fudge
Once you've made these a few times, the base recipe becomes a playground. I've swirled in crushed freeze-dried raspberries for a marbled look, added a handful of white chocolate chips to the crust for extra crunch, and even drizzled melted dark chocolate over the top for contrast. One friend substitutes the digestive biscuits with crushed vanilla wafers, and another uses coconut condensed milk and dairy-free white chocolate for a version that's completely plant-based.
- Try a layer of seedless raspberry jam between the crust and fudge for a tangy surprise.
- Swap half the strawberry powder for freeze-dried mango or passion fruit for a tropical twist.
- Sprinkle coarse sugar or edible glitter on top before chilling for a little sparkle.
 Save to Pinterest
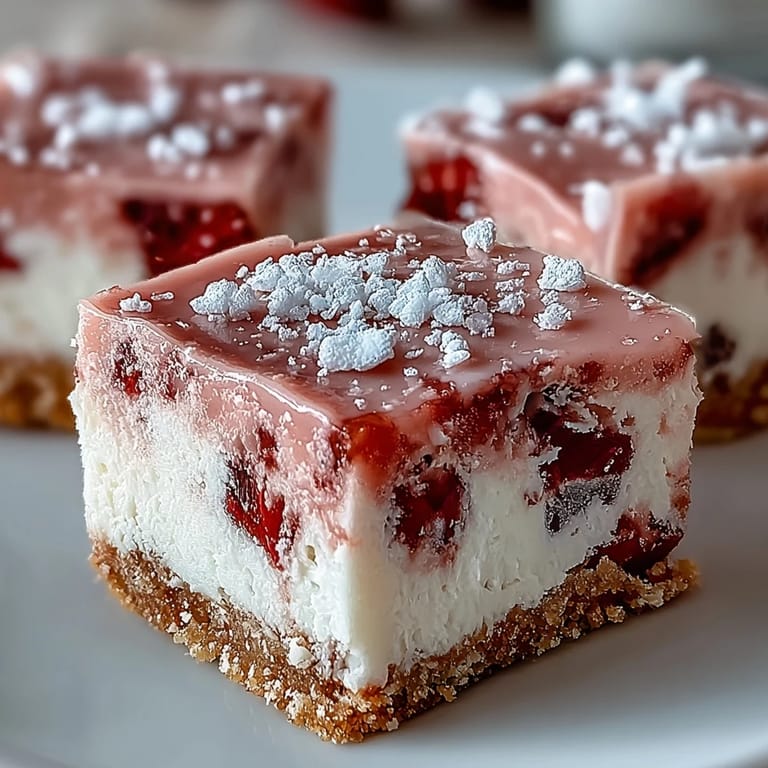
 These little pink squares have become one of those recipes I make without thinking, the kind that feels like a hug in dessert form. I hope they bring you as much joy as they've brought my kitchen, and that you find your own reasons to make them again and again.
Recipe FAQs
- → Can I use fresh strawberries instead of freeze-dried?
Yes, though the texture will be softer. Use 100g fresh strawberries puréed and strained, though the squares may require additional chilling time to set properly.
- → How long do these keep in the refrigerator?
Store in an airtight container in the refrigerator for up to 5 days. The graham crust may soften slightly over time but remains delicious.
- → Can I make these dairy-free?
Absolutely. Substitute dairy-free white chocolate and coconut condensed milk for the traditional ingredients. The texture and flavor remain excellent.
- → Why should I wipe the knife between cuts?
Cleaning the blade between slices ensures clean edges and prevents the fudge layer from smearing or sticking to the knife, giving you professional-looking squares.
- → Can I add other berry flavors?
Try swirling in crushed raspberries for a marbled berry effect, or substitute raspberry powder for variation on the strawberry theme.
- → Should I serve these cold or at room temperature?
Both ways work beautifully. Serve chilled for firm squares, or let stand at room temperature for 10 minutes for a softer, creamier texture.