 Save to Pinterest
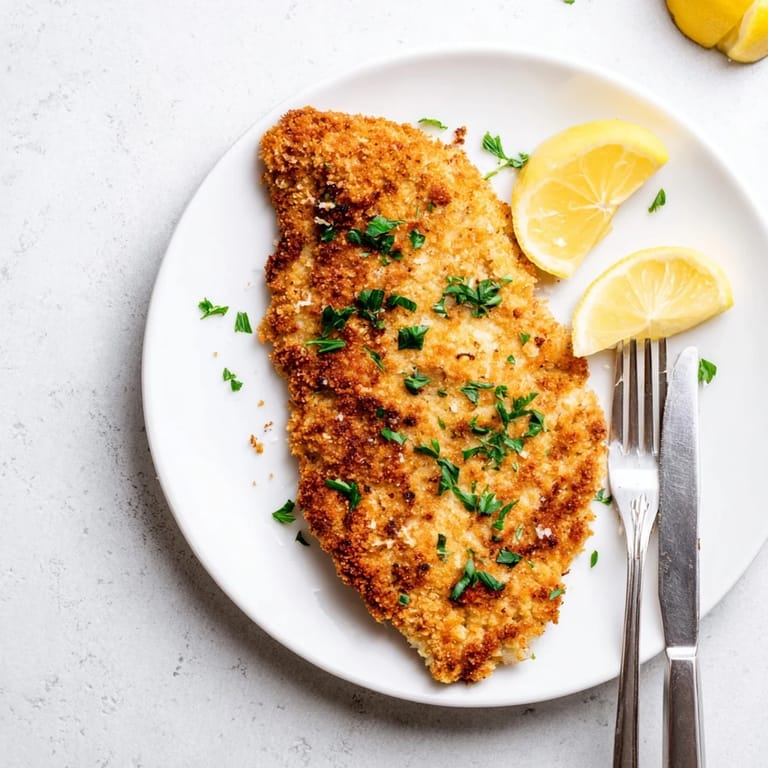
 I used to shy away from cooking chicken, always terrified I'd serve up a rubbery hockey puck or worse, poison someone with undercooked meat. That all changed one rainy Tuesday when I was craving something comforting but quick. The first time I made these crispy Parmesan chicken cutlets, the satisfying sizzle when they hit the hot oil and the incredible aroma filling my kitchen convinced me I'd stumbled onto something special. The golden crust shattered under my fork with the most gratifying crunch, revealing juicy tender meat within.
Last month when my sister visited with her picky toddler, I was at a complete loss for what to serve. The little one had been turning her nose up at everything all weekend. On a whim, I cut one of these cutlets into tiny dinosaur shapes using cookie cutters before serving, and watched in amazement as she devoured every last crispy bite, even asking for dino seconds. My sister texted me three days later for the recipe, saying it was now officially requested daily at their house.
Ingredients
- Boneless, skinless chicken breasts: The star of the show needs to be pounded thin for quick, even cooking and that satisfying ratio of juicy meat to crispy coating.
- Panko breadcrumbs: The secret to that extra crunchy exterior that regular breadcrumbs just cant match, these Japanese-style breadcrumbs create airiness and crispiness without absorbing too much oil.
- Parmesan cheese: Freshly grated works best if you can swing it, as it melts into the crust creating these incredible savory pockets throughout the coating.
- Garlic powder: It distributes more evenly than fresh garlic through the coating mixture, giving you consistent flavor in every bite without risking burnt bits of garlic.
- Dried oregano: This herb stands up beautifully to the high-heat frying process, infusing the crust with that classic Italian aroma that makes your kitchen smell amazing.
Tired of Takeout? 🥡
Get 10 meals you can make faster than delivery arrives. Seriously.
One email. No spam. Unsubscribe anytime.
Instructions
- Flatten the chicken:
- Place each breast between plastic wrap and pound to an even 1/2-inch thickness, hearing that satisfying thwack as the meat tenderizes. This not only speeds up cooking time but ensures each bite has that perfect meat-to-coating ratio.
- Season the canvas:
- Sprinkle both sides with salt and pepper, treating this as your first layer of flavor building. Even with all the seasoned coating to come, this step makes a noticeable difference in the final taste.
- Set up your breading station:
- Arrange three shallow bowls assembly-line style: flour in the first, beaten eggs with milk in the second, and the Parmesan-panko mixture with seasonings in the third. Having everything in order makes the process flow smoothly with less mess.
- Coat with care:
- Working with one piece at a time, dredge chicken in flour, shake off excess, then dip in egg mixture letting extra drip away. Press firmly into the Parmesan-panko mixture, ensuring an even coating that really adheres.
- Achieve golden perfection:
- Heat oil until a few breadcrumbs sizzle immediately when sprinkled in, then gently lay each cutlet in the pan. Listen for that satisfying sizzle as they hit the hot oil, cooking 3-4 minutes per side until deeply golden and cooked through.
 Save to Pinterest
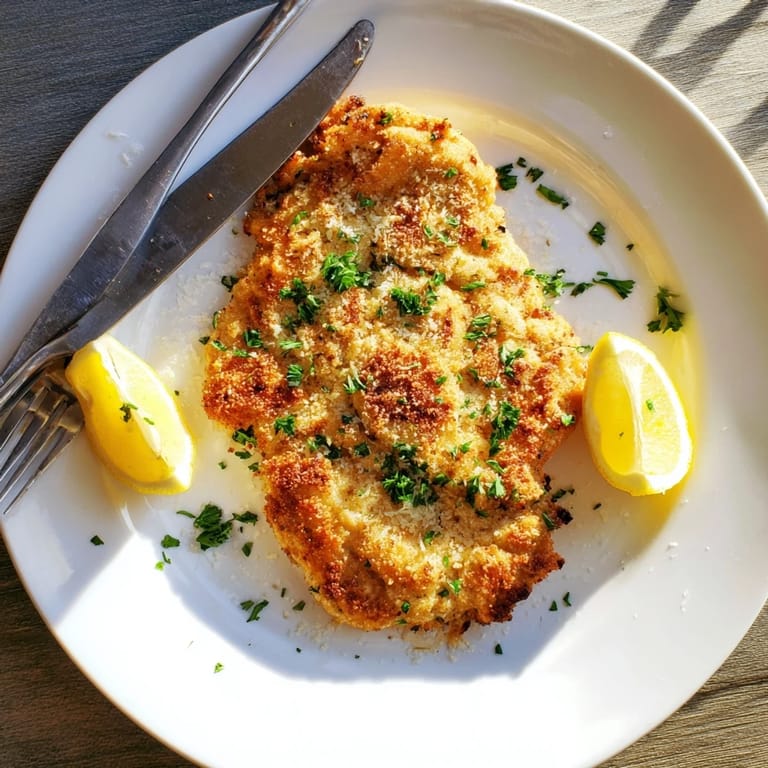
 The memory that stands out most was serving these cutlets at an impromptu dinner party when friends unexpectedly stayed late. Everyone fell silent for the first few bites, then broke into that special kind of food praise that comes between satisfied mmms and rapid fork movements. My friend Marco, who rarely compliments anything not made by his Italian grandmother, asked for the recipe while reaching for seconds. Watching people you care about find comfort in something you made transforms a simple chicken dish into something meaningful.
Making Ahead and Storage
After countless experiments, Ive found you can prep these cutlets completely up to the cooking stage, then refrigerate them on a parchment-lined tray for up to 8 hours. This discovery has saved numerous dinner parties, allowing me to do the messy breading work well before guests arrive. Just bring the chicken to room temperature for about 15 minutes before frying for the most even cooking results, and youll still get that perfect crispy exterior with juicy interior that makes this dish so special.
Serving Suggestions
One winter evening when nothing seemed to go right, I served these cutlets alongside a simple lemon-dressed arugula salad, the peppery greens and bright citrus cutting through the richness of the chicken perfectly. The contrast between hot, crispy cutlet and cold, fresh salad created this perfect bite that elevated the whole meal. Ive since discovered that a side of garlicky roasted vegetables or a quick cherry tomato pasta makes for an equally delightful pairing, the acidic components balancing the savory coating.
Troubleshooting Common Issues
After making this recipe dozens of times, Ive encountered nearly every possible pitfall and learned how to avoid them. The most common issue is coating that refuses to stay put during cooking, which I discovered happens when the oil isnt hot enough before adding the chicken, causing the breading to absorb oil rather than immediately crisp up. Another frequent problem is uneven browning, which comes from inconsistent heat distribution in the pan or trying to cook too many cutlets at once.
- If your breading starts to look spotty or falls off, your oil probably isnt hot enough, so test with a few breadcrumbs first to ensure they sizzle immediately.
- When the first side is perfectly golden but the second side browns too quickly, lower your heat slightly halfway through cooking to give the interior time to catch up.
- For especially large cutlets, finish them in a 350°F oven for 5-7 minutes after pan-frying to ensure theyre cooked through without burning the coating.
 Save to Pinterest
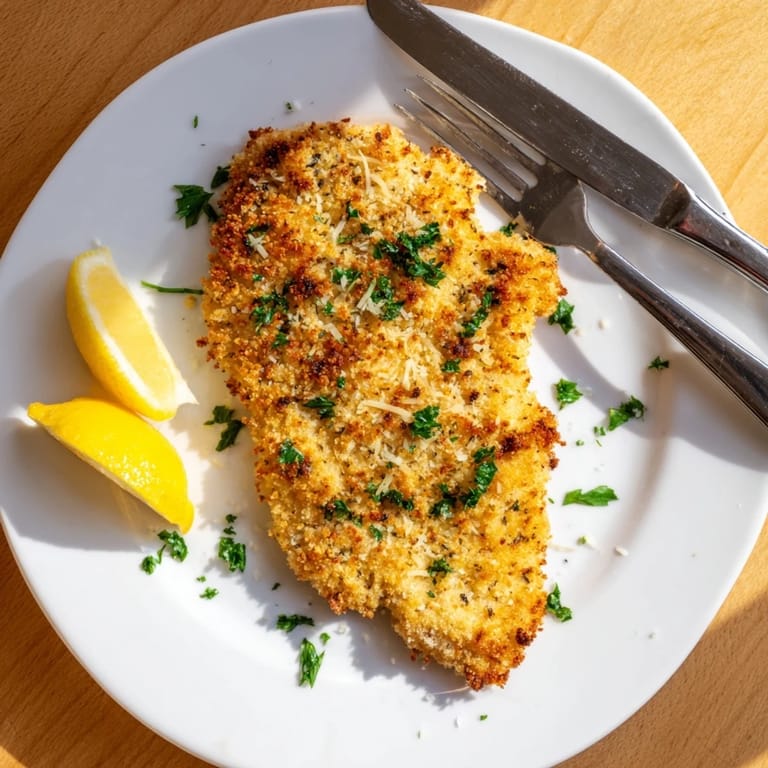
 This crispy Parmesan chicken has become my reliable kitchen friend, stepping in on hectic weeknights and special occasions alike. Whenever Im not sure what to cook but need something guaranteed to please, these golden cutlets answer the call with their perfect balance of comfort, simplicity, and undeniable deliciousness.
Recipe FAQs
- → How thin should I pound the chicken breasts?
Pound each chicken breast to approximately 1/2 inch (1.25 cm) thickness using a meat mallet or rolling pin. This ensures even cooking and helps the chicken cook through quickly while developing a golden crust.
- → What's the best way to achieve extra crispiness?
Use panko breadcrumbs instead of regular breadcrumbs, as they create a crunchier coating. Additionally, press the breadcrumb mixture firmly onto the chicken and avoid overcrowding the skillet when frying, which maintains oil temperature.
- → Can I prepare the cutlets ahead of time?
Yes, you can bread the chicken up to 2 hours ahead and refrigerate on a plate. This helps the coating adhere better. Cook just before serving for the crispiest results.
- → How do I know when the chicken is fully cooked?
Use a meat thermometer to check the internal temperature reaches 74°C (165°F) at the thickest part. The cutlets should also be golden brown on both sides and no longer pink inside.
- → What oil is best for pan-frying?
Olive oil works wonderfully for authentic Italian-American flavor, but vegetable oil or canola oil are equally good alternatives. Choose an oil with a high smoke point to maintain medium-high heat without burning.
- → How should I store and reheat leftovers?
Store cooled cutlets in an airtight container in the refrigerator for up to 3 days. Reheat in a 180°C (350°F) oven for 10-12 minutes to maintain crispiness, rather than using the microwave.