 Save to Pinterest
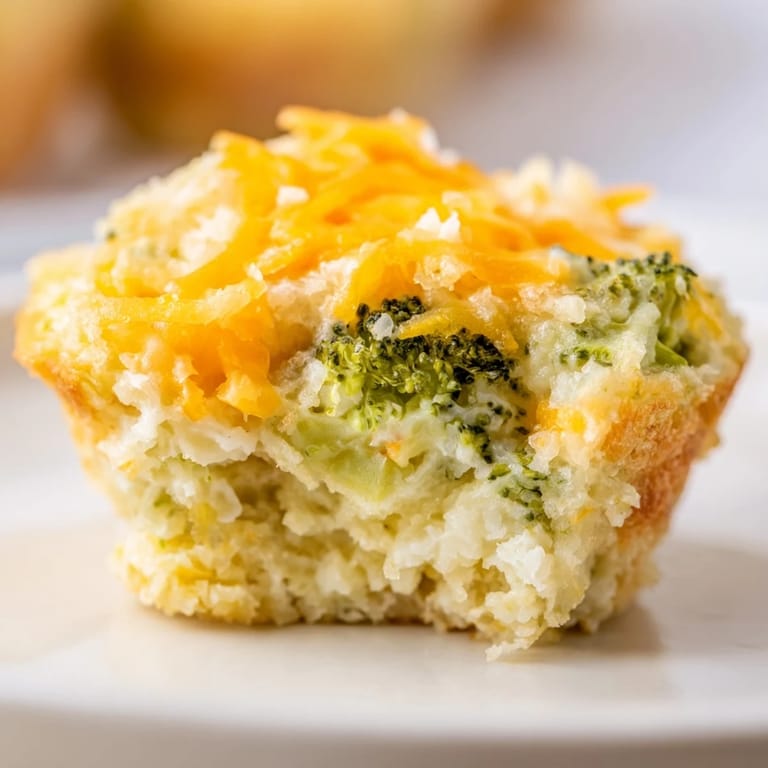
 I discovered these little broccoli cheese bites quite by accident while rummaging through my fridge on a lazy Sunday afternoon, staring at a half-used head of broccoli and wondering what to do with it. The idea came when I realized I had cream cheese softening on the counter and a sudden craving for something savory and handheld. They reminded me of the kind of snack my grandmother used to make, except she did hers with cauliflower and called them her "little green treasures." Within minutes of that first batch coming out of the oven, their golden-brown edges and melted cheese tops had my family sneaking bites before dinner was even ready. Now they're the first thing I make when I need something impressive but genuinely simple.
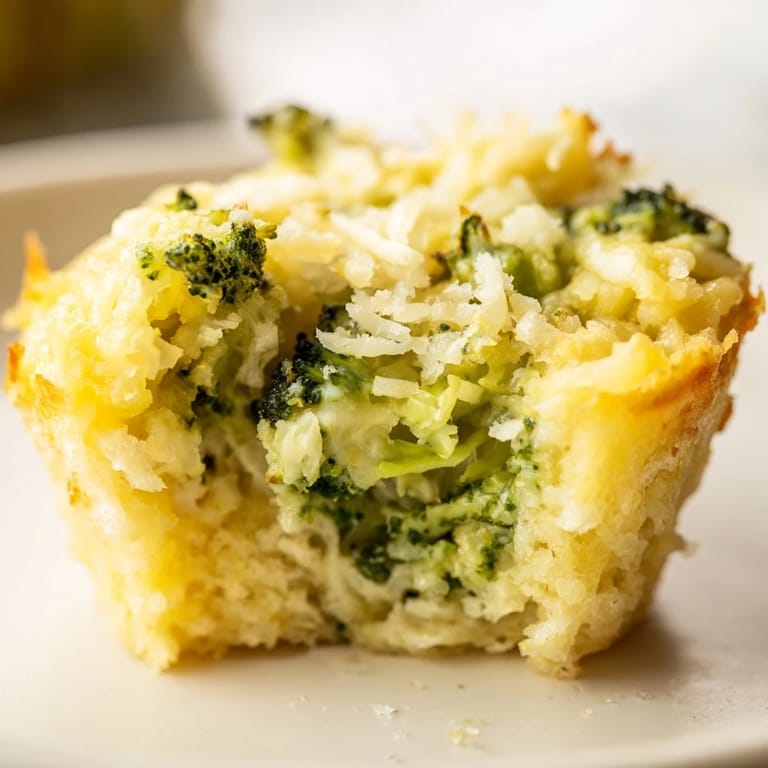
There was this one evening when I brought a batch to a neighborhood gathering, still warm in a foil-lined container, and watched people genuinely light up when they bit into one. A neighbor who claims she "doesn't do vegetables" asked for the recipe, which felt like a small victory. What I loved most was that they sparked actual conversation instead of just disappearing into the background like most appetizers do—people kept coming back, asking if there was garlic in them, commenting on how the cheese got so perfectly melty inside.
Ingredients
- Broccoli florets: Chop them finely so they distribute evenly throughout the bites—large chunks will make them fall apart.
- Onion: A small one, diced fine, adds sweetness that balances the earthiness of the broccoli beautifully.
- Cheddar cheese: Shredded from a block tastes sharper and melts better than pre-shredded, trust me on this one.
- Parmesan cheese: This is your secret to those crispy, golden edges—it browns faster than cheddar.
- Cream cheese: Softened is crucial; cold cream cheese won't blend smoothly and you'll end up with lumpy bites.
- Eggs: They act as the binder that holds everything together without flour getting heavy.
- Almond flour: Keeps these low-carb while adding texture; don't skip it thinking they'll work without it.
- Garlic powder and onion powder: These small amounts create layers of savory flavor that make people ask what your secret is.
- Salt and pepper: Season as you would any savory dish—don't hold back.
Tired of Takeout? 🥡
Get 10 meals you can make faster than delivery arrives. Seriously.
One email. No spam. Unsubscribe anytime.
Instructions
- Heat and Prep:
- Preheat your oven to 375°F while you gather everything; this is when you line your baking sheet with parchment paper or give that mini muffin tin a light coating of cooking spray so nothing sticks.
- Soften the Broccoli:
- Steam or microwave the chopped broccoli for just 2-3 minutes until it's tender but still has a slight firmness—overcooked broccoli becomes mushy and releases too much water into your mixture. Let it cool on a clean kitchen towel while you prep the other ingredients.
- Combine the Cheese Layer:
- In a large bowl, mix the broccoli with the onion, cheddar, Parmesan, and cream cheese, stirring until everything looks evenly distributed with no streaks of white cream cheese visible. This should feel creamy but also have texture from the broccoli pieces.
- Create the Batter:
- Add the eggs, almond flour, and all your seasonings to the cheese mixture, folding everything together until you have a thick, sticky batter that holds together when you squeeze it. The mixture should smell savory and garlicky—if it doesn't, you might need a pinch more seasoning.
- Shape and Fill:
- Using a small spoon or scoop, portion the mixture into your mini muffin cups (you should get about 18 bites) or shape them into balls on your prepared baking sheet, leaving a tiny bit of space between each one so they can brown evenly. Your hands will get a little sticky, which is totally normal and means the mixture has enough binder.
- Bake Until Golden:
- Slide everything into the oven for 20-25 minutes, keeping an eye on them as they start to turn that beautiful golden brown on top—the exact time depends on your oven, so start checking around the 18-minute mark. They're done when a fork inserted in the center comes out clean and they feel firm to the touch.
- Cool and Serve:
- Give them 5 minutes to cool slightly so the insides can set and won't fall apart when you bite into them; they'll firm up even more as they cool. Serve them warm for that melty cheese experience, or keep them at room temperature for snacking throughout the day.
 Save to Pinterest
 I'll never forget the moment my picky five-year-old actually asked for seconds, calling them "cheese broccoli nuggets" like I'd invented something revolutionary. That's when I realized these little bites had secretly turned vegetables into something kids actually wanted to eat, and that felt like winning at parenting in the most delicious way possible.
Storage and Make-Ahead Magic
These bites are wonderfully forgiving to prepare ahead of time, which makes them ideal for busy weeks or unexpected guests. You can shape them up to two days ahead and store them in the refrigerator on a covered plate, then bake them straight from the cold without adjusting the time. They also freeze beautifully before baking—just pop a frozen batch straight into the oven and add about 5 extra minutes to the baking time, and you'll have fresh bites ready whenever hunger strikes.
Flavor Variations That Actually Work
Once you've mastered the basic version, you can start experimenting with add-ins that don't change the structure but completely transform the taste. Some of my favorite discoveries include crumbled cooked bacon, a pinch of smoked paprika for depth, crispy diced jalapeños for a subtle kick, or even a tiny amount of lemon zest for brightness. The key is not going overboard—these bites are about the balance between cheese and broccoli, so any additions should support that relationship rather than overshadow it.
Why These Work for Every Situation
What makes these bites so special is their incredible versatility; they work equally well as a grab-and-go breakfast protein, a kid-friendly vegetable vehicle, a low-carb lunch addition, or an elegant party appetizer. They're the kind of recipe that doesn't require fancy plating or complicated techniques, yet still impresses people who assume homemade appetizers always require stress. Serve them warm with a dollop of Greek yogurt mixed with dill, pair them with marinara sauce for dunking, or simply eat them straight from the container while you're cooking dinner.
- Make a double batch and freeze the extras for busy weeks when you need quick, protein-packed snacks.
- If you're serving these at a party, keep them in a warm oven at 200°F so they stay soft and melty throughout the evening.
- These bites taste just as good at room temperature, so don't stress if they cool down between batches.
 Save to Pinterest
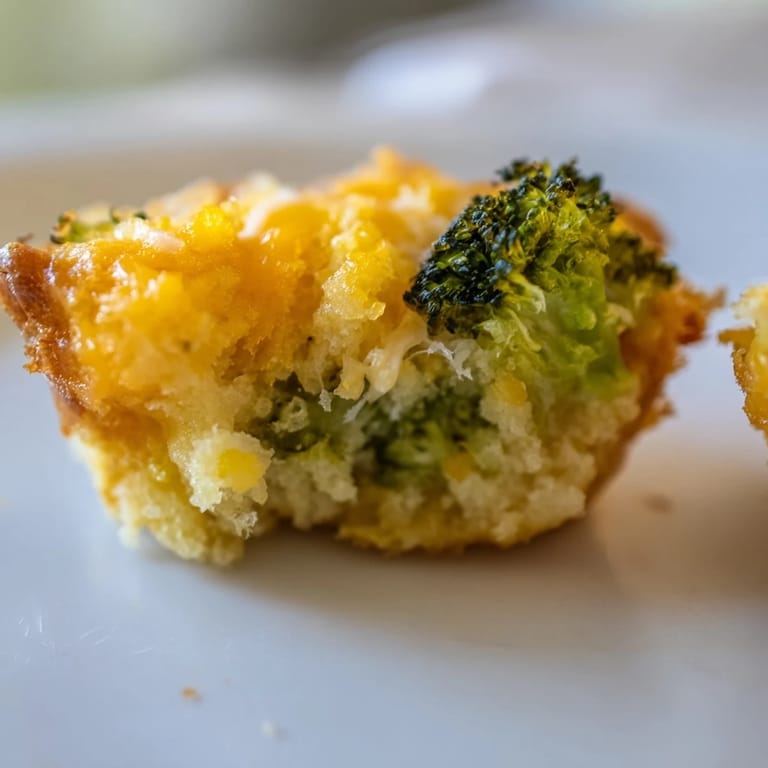
 These cheesy broccoli bites have become my answer to that question "what should I bring?" because I know they'll be gone and people will ask for the recipe. They've taught me that simple ingredients, when treated with care and a little creativity, can become something that people genuinely look forward to eating.
Recipe FAQs
- → How do I prepare the broccoli for these bites?
Steam or microwave finely chopped broccoli florets until just tender, typically 2-3 minutes, then drain to avoid excess moisture.
- → Can I substitute almond flour with another ingredient?
Yes, coconut flour can be used as a nut-free alternative; use 1/4 cup to maintain the right texture.
- → Are these bites suitable for a gluten-free diet?
Yes, the ingredients are gluten-free, but always double-check labels to avoid hidden gluten in cheeses or seasonings.
- → What baking equipment is recommended?
A mini muffin tin lined with parchment or greased works best to hold the shape during baking, though a baking sheet can also be used.
- → Can these bites be served warm or at room temperature?
Both options work well; enjoy them warm fresh from the oven or at room temperature for convenient snacking.