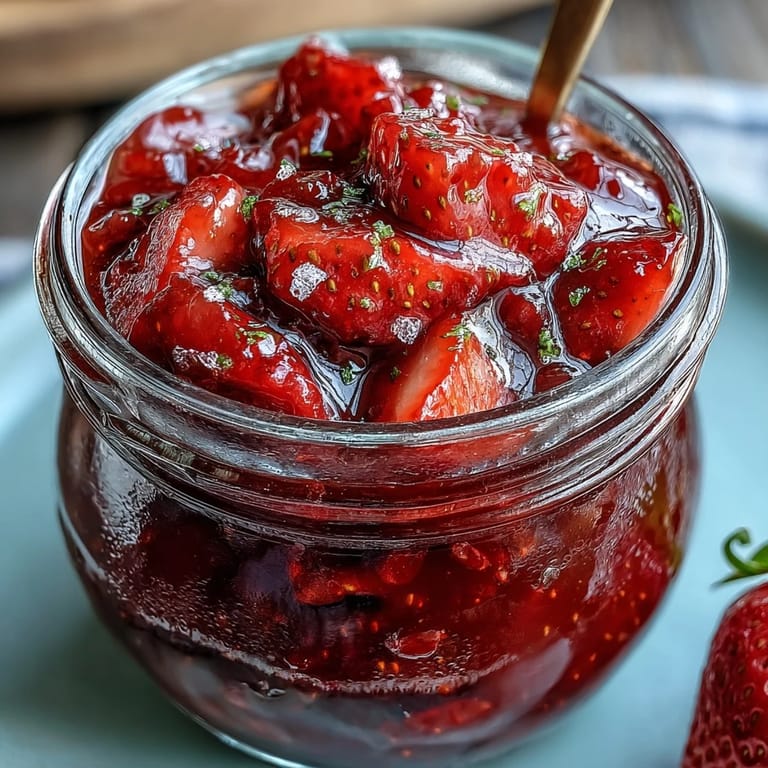
 Save to Pinterest
 Pinkish sunlight streamed through my kitchen window as I unloaded a basket of strawberries, their sweet scent pooling over the counter in waves so thick I could almost taste spring. Jam days always feel a little like playing hooky from real life—slow, syrupy, unhurried. I didn’t set out to make jam this year, but those berries were too ripe to ignore, and I wanted to see if I could bottle that brightness before it vanished. The playlist was just birdsong and the lid click of clean jars waiting to be filled. The whole kitchen smelled, for a brief spell, like freshly cut lawns and dessert at the same time.
I first made this for my neighbor Ida, who’d lent me her funnel and stayed chatting in my garden while the jam simmered. We laughed at the way I jumped when the first bubbles popped, both of us startled by how loud fruit can be. She showed me how to test for jell by pushing a spoonful across a cold plate, and I’ll never forget the electric smile she gave when the jam finally set just so.
Ingredients
- Fresh strawberries: Buy the ripest you can find — bruises are ok, but pass on white or underripe ones for optimum color and flavor.
- Granulated sugar: I learned quickly that less sugar makes the jam brighter, but you still need enough for that glossy set.
- Freshly squeezed lemon juice: This isn’t just for brightness—it helps the jam gel and keeps the strawberries tasting lively.
- Vanilla bean or pure vanilla extract (optional): A hint of vanilla rounds out the flavor—if I’m out of beans, I don’t stress and just use a splash of extract.
Tired of Takeout? 🥡
Get 10 meals you can make faster than delivery arrives. Seriously.
One email. No spam. Unsubscribe anytime.
Instructions
- Muddle Strawberries:
- Tumble the hulled berries into your heaviest saucepan, then use a potato masher to gently crush about half of them until their juices start to glisten, leaving a few chunky bites for old-fashioned texture.
- Mix and Macerate:
- Add the sugar and lemon juice, swirling them in with a wooden spoon. Let the mixture sit for 10 minutes—the sugar will draw out ruby-hued juices, and you’ll see the beginnings of syrup at the pan’s edge.
- Incorporate Vanilla (if using):
- Scrape in the vanilla bean seeds and toss the pod in, or add a teaspoon of vanilla extract; this step always feels a bit like magic.
- Bring to Boil:
- Turn the heat to medium, and stir as it all slowly comes to a gentle boil. Skim off any little clouds of foam—it's oddly satisfying.
- Cook to Set:
- Keep stirring gently as the jam bubbles, watching it thicken over 20 to 25 minutes (or until a thermometer reads 105°C). Test readiness by dropping a spoonful onto a cold plate: if it wrinkles as you nudge it, you’re good to go.
- Cool and Jar:
- Take the pan off the heat and fish out the vanilla pod. Let the jam breathe for 5 minutes, then ladle it into sterilized jars, enjoying the way it paints the glass crimson as it settles.
- Seal and Store:
- Seal up your jars while still hot, let them cool at room temperature, and then pop them in the fridge—ideally, use within a month to keep that fresh flavor front and center.
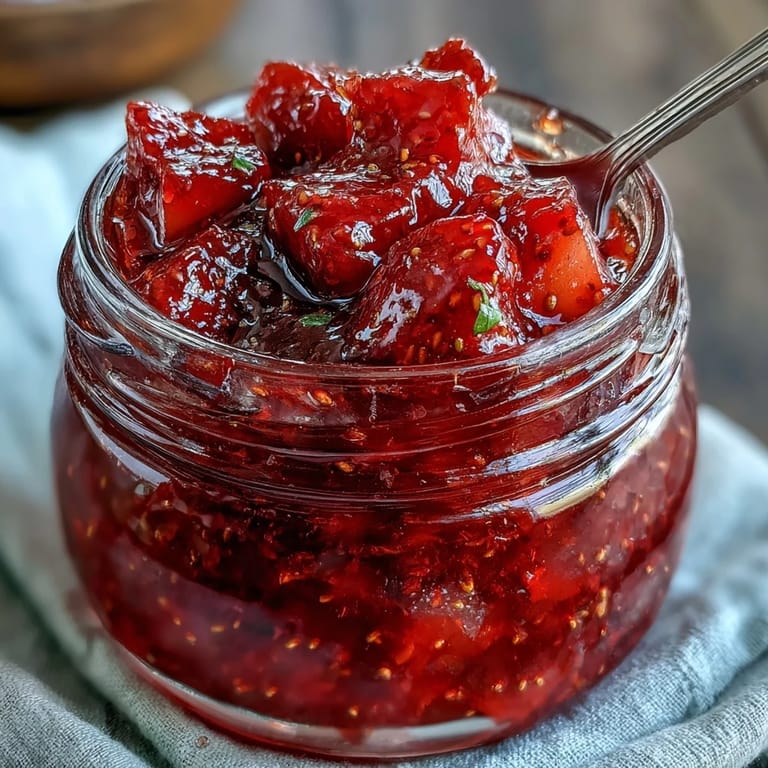 Save to Pinterest
 When a friend brought over warm, crusty bread and we slathered on this jam, the kitchen filled with laughter and pink-fingered taste tests. Sometimes one little jar can make a regular Tuesday feel like something worth remembering.
The Glass Jar Ritual
Sterilizing jars might seem fussy, but the ritual adds a kind of ceremony to homemade jam—plus, it means your preserve will actually last. I always save odd-sized glass jars and ornaments of twine, making each batch feel like a tiny, heartfelt gift even when it's just for me.
Adding Herbal Notes
If you’re feeling adventurous, tuck a small sprig of thyme or a stray basil leaf into the pot near the end—herbs lift the berries and surprise anyone lucky enough to get a spoonful. I found a little goes a long way, so start light and taste as you go.
Gifting and Storing with Style
Leftover jam makes a perfect impromptu gift—I wrap jars in fabric scraps, knot with twine, and scribble a date on the label for that cottagecore charm. Even my skeptical brother was won over after getting one for his birthday.
- A wide-mouthed funnel saves on sticky messes.
- Don't skip cooling jars fully before refrigerating.
- Label your jars with the date—it's amazing how time flies when they're this delicious.
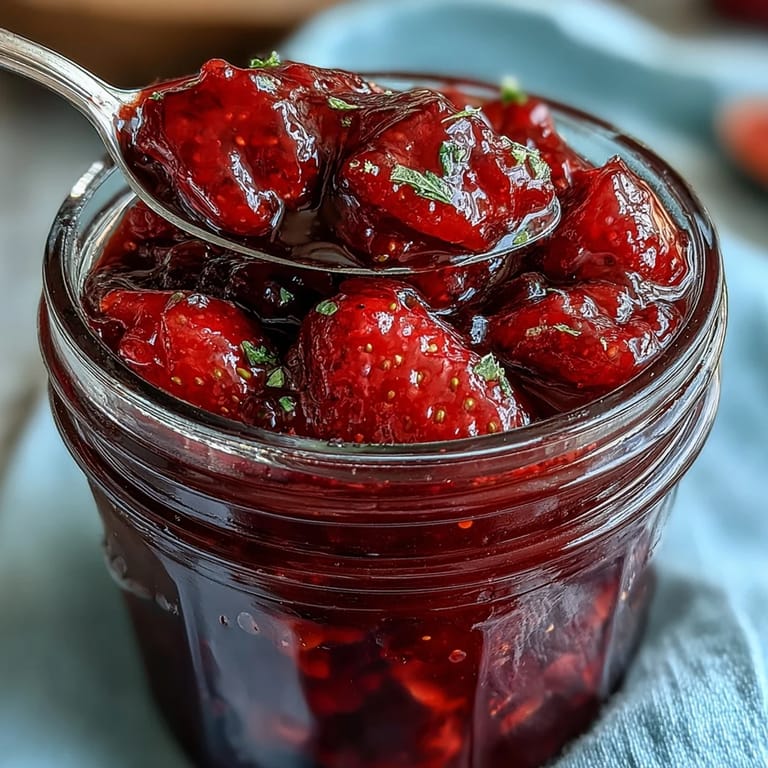 Save to Pinterest
 Every spoonful of this strawberry jam brings back a small rush of color and calm. May your next jar fill the kitchen with as much sunshine as it does sweetness.
Recipe FAQs
- → What is the fruit-to-sugar ratio?
The guideline here is 500 g strawberries to 250 g sugar (roughly 2:1 fruit to sugar). That balance highlights fresh berry flavor while helping the spread set and preserving shelf life.
- → How do I test for the proper set?
Use a chilled plate test: spoon a little onto a cold plate and push it — if it wrinkles, it's set. Alternatively, aim for 105°C (220°F) on a candy thermometer for a reliable finish.
- → Can I use frozen strawberries?
Yes. Thaw and drain excess water, then proceed. Frozen berries tend to release more juice, so reduce standing time before cooking and watch the simmer to avoid overcooking.
- → When should I add vanilla or herbs?
Add vanilla seeds and the pod near the start so the flavor infuses during cooking; remove the pod before jarring. Fresh herbs like thyme or basil are best added near the end for a bright, subtle note.
- → How do I sterilize jars and store the jars safely?
Wash jars and lids, then sterilize in simmering water or a hot oven. Fill jars while the jam is hot, seal, cool at room temperature, and refrigerate. For longer shelf stability, process sealed jars in a boiling water bath for 10 minutes.
- → Can I reduce the sugar for a less sweet result?
Reducing sugar will affect set, texture, and preservation. If cutting sugar, consider adding a pectin designed for low-sugar preserves or shorten storage expectations and keep refrigerated.